In our previous article, we showed you some amazing food recipes that you can try out at home, but today we’re going to focus on one particular dish that everyone should be familiar with. That’s right, we’re talking about bread.
Even though there’s enough bread available on our supermarket shelves, not everyone is willing to make a run to the store every few days and line up for new Gardenia loafs. So what do you do if you can’t go to the supermarket? Well, the solution’s simple: just make your own bread at home!
“But wait!” some of you might say. “I’ve never baked bread before in my life! My family doesn’t even have a bread maker at home!”
No problem! The truth is, you don’t need a fancy bread maker or even an actual oven to create bread at home. There are honestly plenty of ways to create lovely, delicious bread from the comfort of your own kitchen.
To help you out, we’re going to take a look at three different bread recipes, each of which use tools and ingredients that almost everyone should have in their kitchens today.
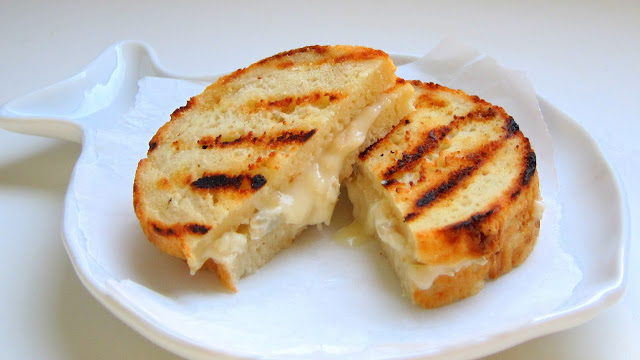
1) Stovetop

For our first recipe, we’re going to pay homage to something that almost every Malaysian has tasted at some point: naan.
An Indian-style flatbread, naan is traditionally baked inside a tandoor oven using a wood or charcoal fire, but you can actually make it at home with a cast-iron skillet right on your stovetop. This recipe gives you delicious, soft, and puffy naan bread that tastes just as good as the ones from your local Indian restaurants. For best results, serve it warm with a curry of some kind.
Ingredients:
-
1 teaspoon sugar
-
1/2 cup warm water
-
1/4 oz active dry yeast (2 1/4 teaspoons)
-
2 1/4 cups all-purpose flour
-
1/2 cup plain yogurt
-
1/2 teaspoon salt
-
1 tablespoon oil
-
some oil, for greasing the skillet
-
3 tablespoons melted salted butter
Instructions:
-
In a small bowl, add sugar, warm water and yeast. Stir to combine well. The yeast should be activated once it becomes foamy in about 10 minutes.
-
Transfer the flour to a flat surface and make a well in the middle. Add the yeast mixture, yoghurt and oil. Knead the dough until the surface becomes smooth and shiny, about 10 minutes.
-
Cover the dough with a damp cloth and let it rest for about an hour.
-
Divide the dough into eight equal portions. Roll the dough to an eight inch circle using a rolling spin.
-
Heat up a skillet (cast-iron preferred) and lightly grease the surface with some oil to prevent the dough from sticking. Place the dough on the hot skillet.
-
When the dough puffs up, flip it over and cook the other side.
-
Repeat the process until all the dough is done. Brush the naan with melted butter, and serve warm.
2) Rice Cooker
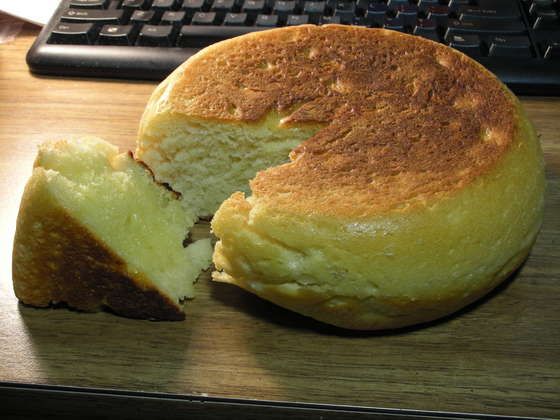
One item that just about every Malaysian has in their kitchen is a rice cooker. Despite what you might assume, this humble gadget can be used to prepare a number of tasty treats, including bread. This recipe requires a lot more time as well as supervision, but results in a flexible, mild-tasting bread that’s great with a variety of spreads or dips.
The main issue is that most rice cookers are programmed to stop cooking at a certain temperature. Since you’re making bread instead of rice, it’s going to require more cooking time. While you can just hold the “cook” button down if it turns off too early, using an eraser or other object to block the button can cause a fire hazard.
Make sure to keep an eye on your rice cooker and keep it far away from any flammable materials.
Ingredients:
-
2.5 cups (350 grams) flour
-
1.25 teaspoon (5 grams) yeast
-
1.5 tbsp (21 grams) sugar
-
1.5 tsp (6.5 grams) salt
-
1.5 tbsp (21 grams) butter
-
30ml milk
-
180 ml water
Instructions:
-
Put the yeast into a bowl or cup. Add a pinch of sugar and about 1/4 cup warm water. Allow it stand for approximately ten minutes.
-
In the meantime, pour the flour, salt, sugar and milk directly into the rice cooker. Add in the yeast mixture from the first step.
-
Knead the dough for 8-10 minutes and form it into a ball, adding a little more flour if it seems too wet.
-
Cut the butter into small pieces and add it to the dough ball. Knead the butter into the ball until the butter is completely absorbed into the dough and has no lumps.
-
Allow to sit for an hour in the rice cooker on the warm setting. It will be ready for the next step once the dough is about double its original size.
-
Lift the dough from the bowl and toss it back down again. Do this a few times until the dough returns to its original size. Then, allow it to sit in the rice cooker for another hour.
-
Bake for an hour, but check after 30 minutes to see if it is done. Make sure it does not burn on the bottom.
-
Flip your bread out and turn it upside down for around 1 hour. Note that the exact timing may differ depending on what kind of rice cooker you have.
-
Flip it and bake it one more time, for another hour. The bread is done if it sounds hollow when you tap it.
-
Take your bread out of the cooker, let it cool down a little, and serve.
3) Pressure Cooker

Pressure cooker breads are rather interesting because it steams the bread rather than baking it. Though the edges will brown a little, pressure cooked bread won’t have a crust like normal baked bread – good news for those who normally cut those bits off. Another great thing about pressure cookers is that they’re a lot faster compared to other methods. This particular recipe only takes about 30 minutes!
However, note that you will need to have a suitable container for your bread. Try looking for something cylinder shaped – it must be heat-proof, food safe, tall, narrow, and doesn’t reduce near the top. Options include small cookie tins, stainless steel storage canisters, ceramic jars, heat-proof measuring cups, and even wide-mouth canning jars. You can also use square or rectangular containers instead – just make sure to cover it with foil rather than its lid.
Ingredients:
-
1 teaspoon olive oil
-
2 cups (250g) all purpose flour
-
½ teaspoon bicarbonate baking soda (not baking powder)
-
1 teaspoon salt
-
1¼ cup (270g) whole milk plain yogurt (or sour milk, or milk with 1¼ tablespoons of vinegar)
-
water to cover
Instructions:
-
Prepare the pressure cooker with a rack or steamer basket. Then, use a teaspoon of olive oil to grease up your container.
-
Mix together flour, baking soda, and salt and then add the yogurt. Stir it all together, then lightly knead until the mixture is a bit chunky and flaky.
-
Gather the dough together into a ball. If it won’t stay in a ball, sprinkle a little water. Knead lightly for about a minute.
-
Lower the mixture into the oiled container, adding a little splash of oil to the top to keep it from sticking to the foil.
-
If using a coffee can, do not use the plastic lid during cooking. If using an air-tight stainless steel canister, do not use the lid from the canister. Simply cover with foil and make a little pleat in the middle to ensure room for expansion. Tie a string around the edge to keep the container tightly closed.
-
Lower the container into the pressure cooker on the rack and fill the cooker with water to around half the height of the container.
-
Close and lock the lid of the pressure cooker.
-
When time is up, open the pressure cooker. Move the cooker off the burner and wait for the pressure to come down on its own (about 10 minutes). For electric pressure cookers, disengage the “keep warm” mode or unplug the cooker and open when the pressure indicator has gone down (20 to 30 minutes).
-
Carefully remove the container and test the bread by inserting a toothpick. If it comes out clean, take out the loaf and put on a cooling rack (or cool burner) to rest for 10 minutes before slicing.
-
Slice and serve warm with fresh butter.
Too Busy To Cook?
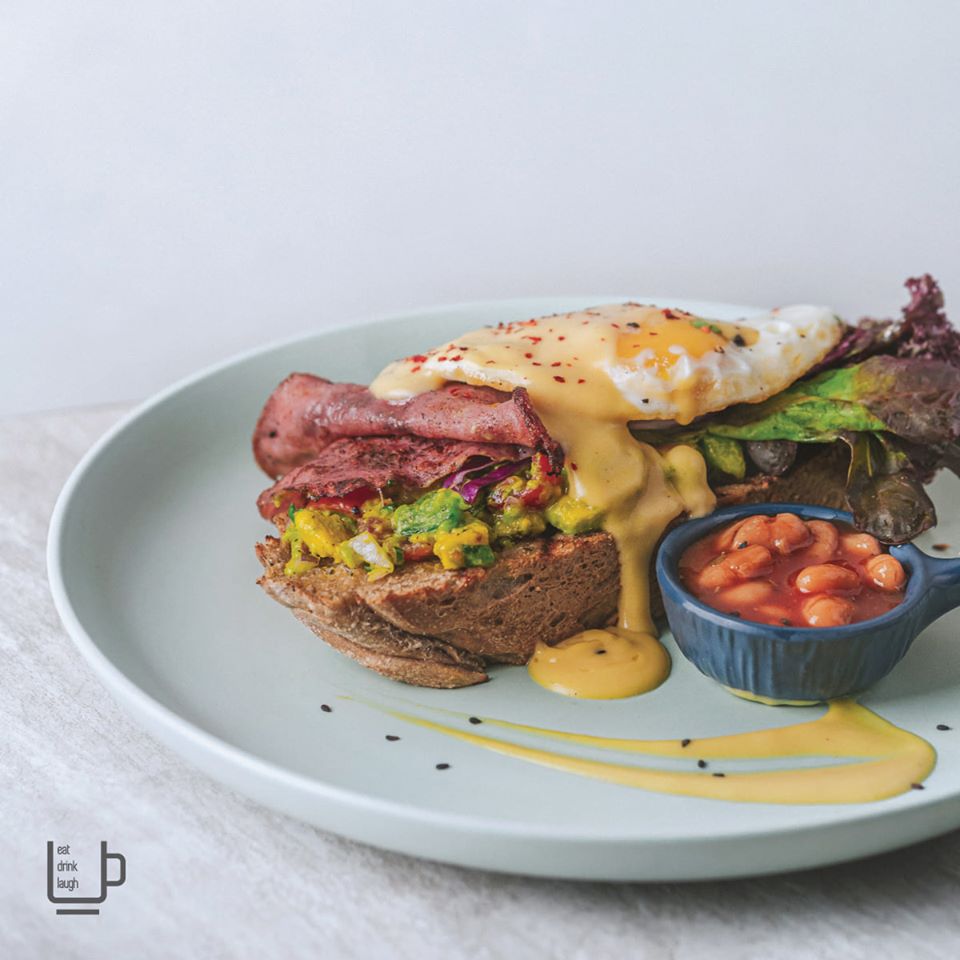
No matter how good it is, bread alone isn’t enough to fill you up. So what can you do if you’re too busy or too tired to cook for your family? Well, you can simply check out Foremula Cafes Eat Well Catering Plan.
Made by local chefs using locally sourced ingredients, this 5-day catering plan provides you with delicious and well balanced meals delivered straight to your doorstep. You can enjoy all your favorite Foremula foods at a hefty 30% discount!
For more information on all our latest articles and promotions, follow us on Twitter or Instagram today.